eyeRizz field guide · v2026.07

The Perfect Iris Photo Guide

Six simple steps for capturing a sharp, naturally lit iris photo — the foundation for a mosaic you'll treasure for years.

eyeRizz tutorial showing preparation for a clear iris photograph

Step 1

Clean the lens and choose soft light

Start with a clear lens and bright, indirect light from a window or shaded area.

  • Wipe the phone lens before you begin.
  • Face a bright window, but keep direct sun and harsh reflections out of the eye.
  • Turn off beauty filters, portrait blur, and flash.
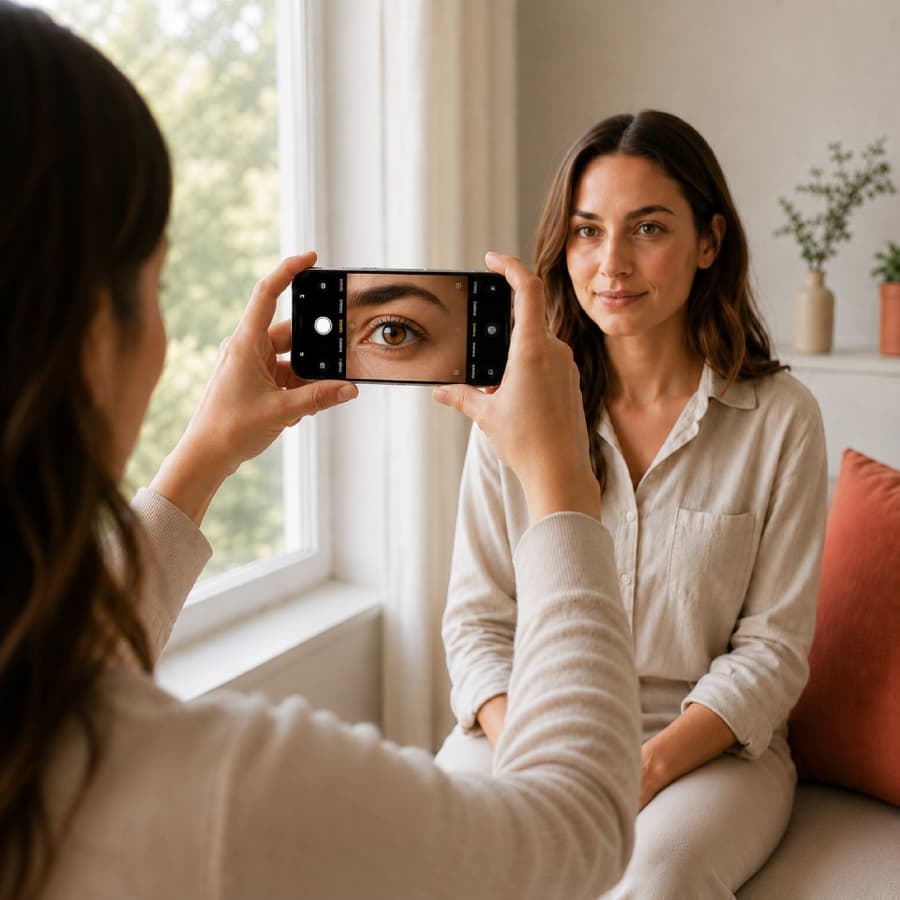
eyeRizz tutorial demonstrating use of a phone rear camera

Step 2

Use the rear camera

The rear camera normally captures more detail than the selfie camera.

  • Ask another person to take the photo when possible.
  • Use the standard photo mode at the camera's native resolution.
  • Avoid digital zoom, screenshots, and images downloaded from social media.
eyeRizz tutorial showing a steady phone position for iris focus

Step 3

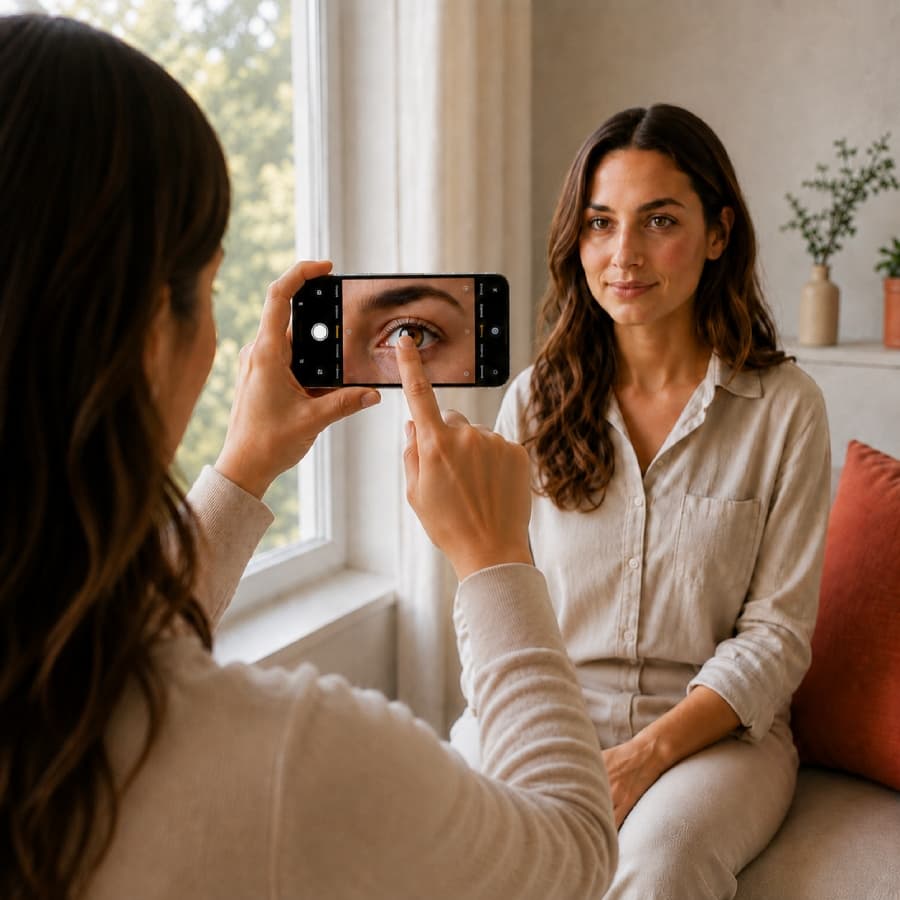
Hold the phone steady

Sharp iris texture matters more than filling every pixel of the frame.

  • Brace the phone or your elbows and tap the eye to focus.
  • Keep a safe, comfortable distance and move closer only while focus remains sharp.
  • Take several photos so you can choose the clearest one.
eyeRizz tutorial showing gaze placement that reduces iris reflections

Step 4

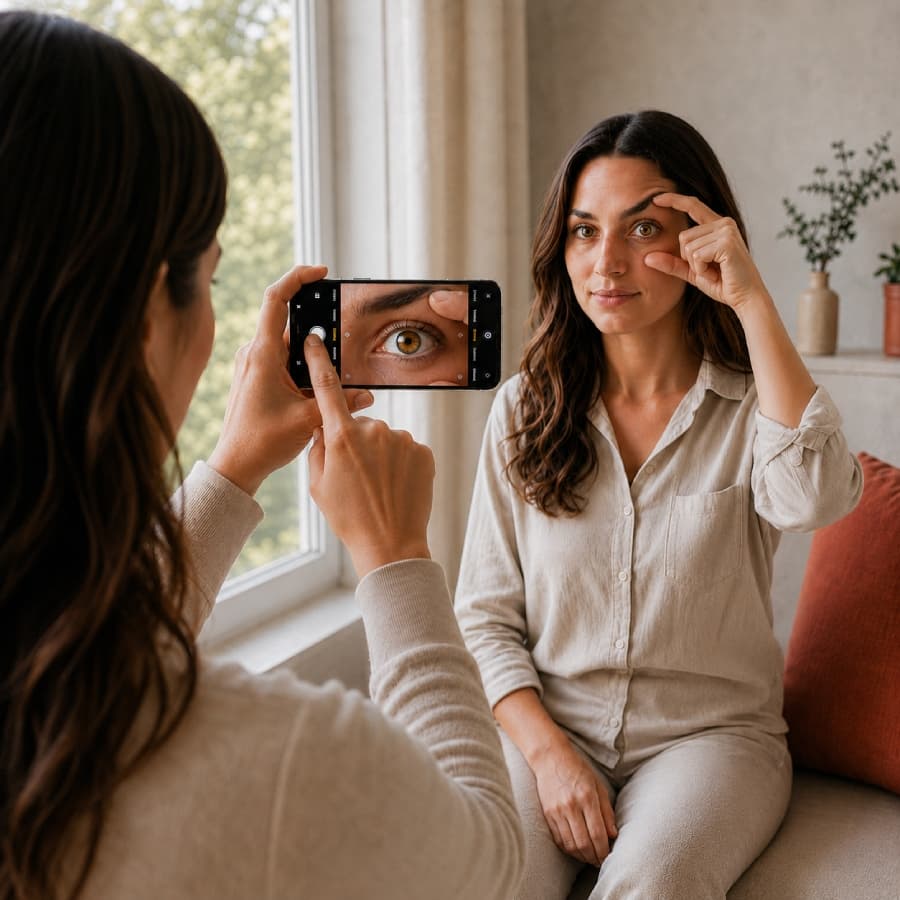
Look slightly beside the lens

A small change in gaze can move bright reflections away from the iris.

  • Keep the eyelids comfortably open without stretching them.
  • Look just beside the camera if the photographer or phone appears as a large reflection.
  • Keep lashes, hair, and glasses away from the visible iris where practical.
eyeRizz tutorial close-up used to inspect sharp iris texture

Step 5

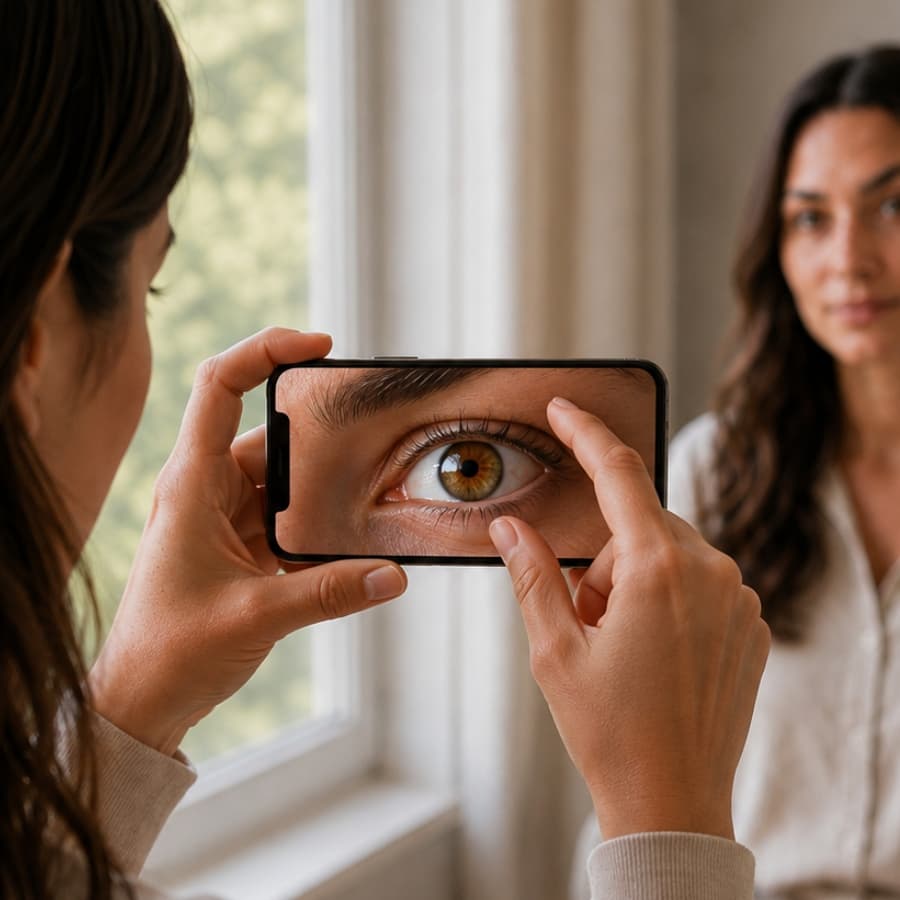
Check sharpness at full size

Zoom into the saved photo and inspect the fine lines of the iris.

  • The iris fibres should look crisp rather than smeared or pixelated.
  • Retake the image if the pupil is sharp but the iris texture is not.
  • Choose natural colour over heavy sharpening or saturation filters.
eyeRizz tutorial showing the original iris photo ready for upload

Step 6

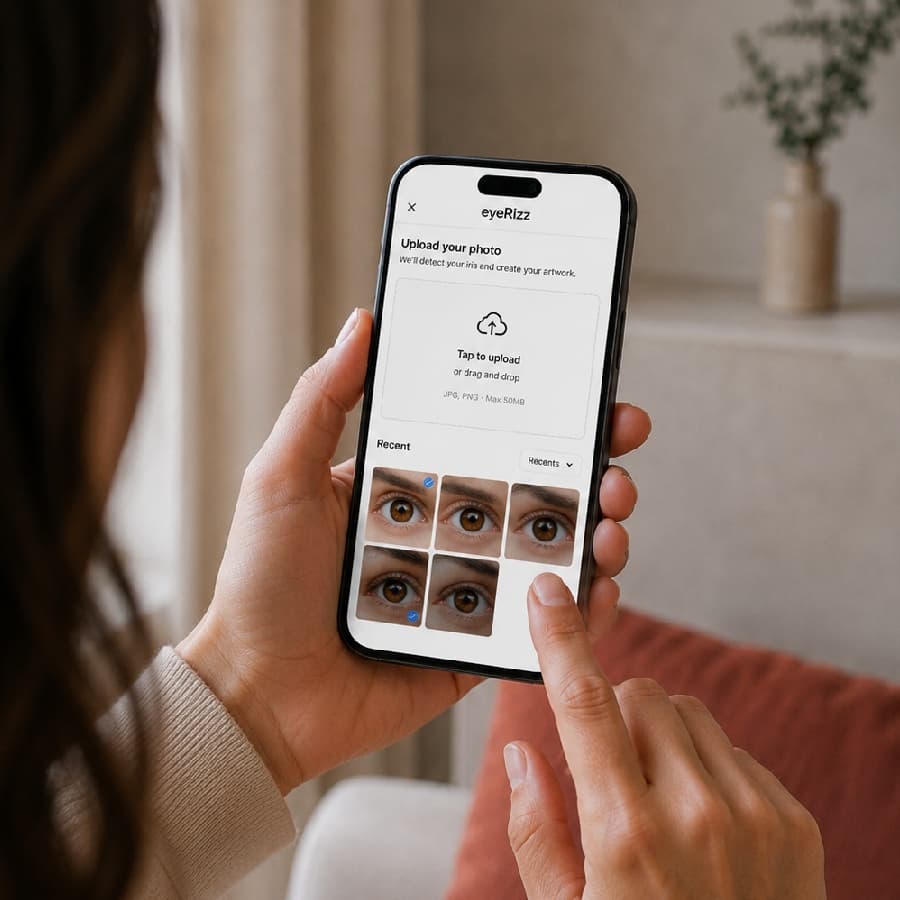
Upload the original file

Send eyeRizz the highest-quality file your camera created.

  • Upload the original photo directly from the device.
  • Do not crop tightly; eyeRizz needs a little surrounding eye area for accurate placement.
  • If you are unsure, upload the sharpest two or three options and compare them in the flow.

Aim for this

  • Soft, bright, indirect light
  • Crisp visible iris fibres
  • Minimal glare across the iris
  • Original full-resolution camera file
  • A little space around the eye

Avoid this

  • Flash or direct sun
  • Motion blur or missed focus
  • Beauty filters and portrait blur
  • Screenshots and social-media copies
  • Hair, glasses, or deep shadow covering the iris

Your iris is ready

Turn it into something you'll treasure forever

Upload the photo and your favorite memories — we'll guide you the rest of the way, from first upload to a mosaic you can hold.

Make My Mosaic